Whisparr Docker Compose Configuration: Full Example Explained
One small YAML file that makes your Whisparr deployment reproducible, documented and easy to update.
Read guide →Run Whisparr in Docker the right way — a practical, beginner-friendly walkthrough.
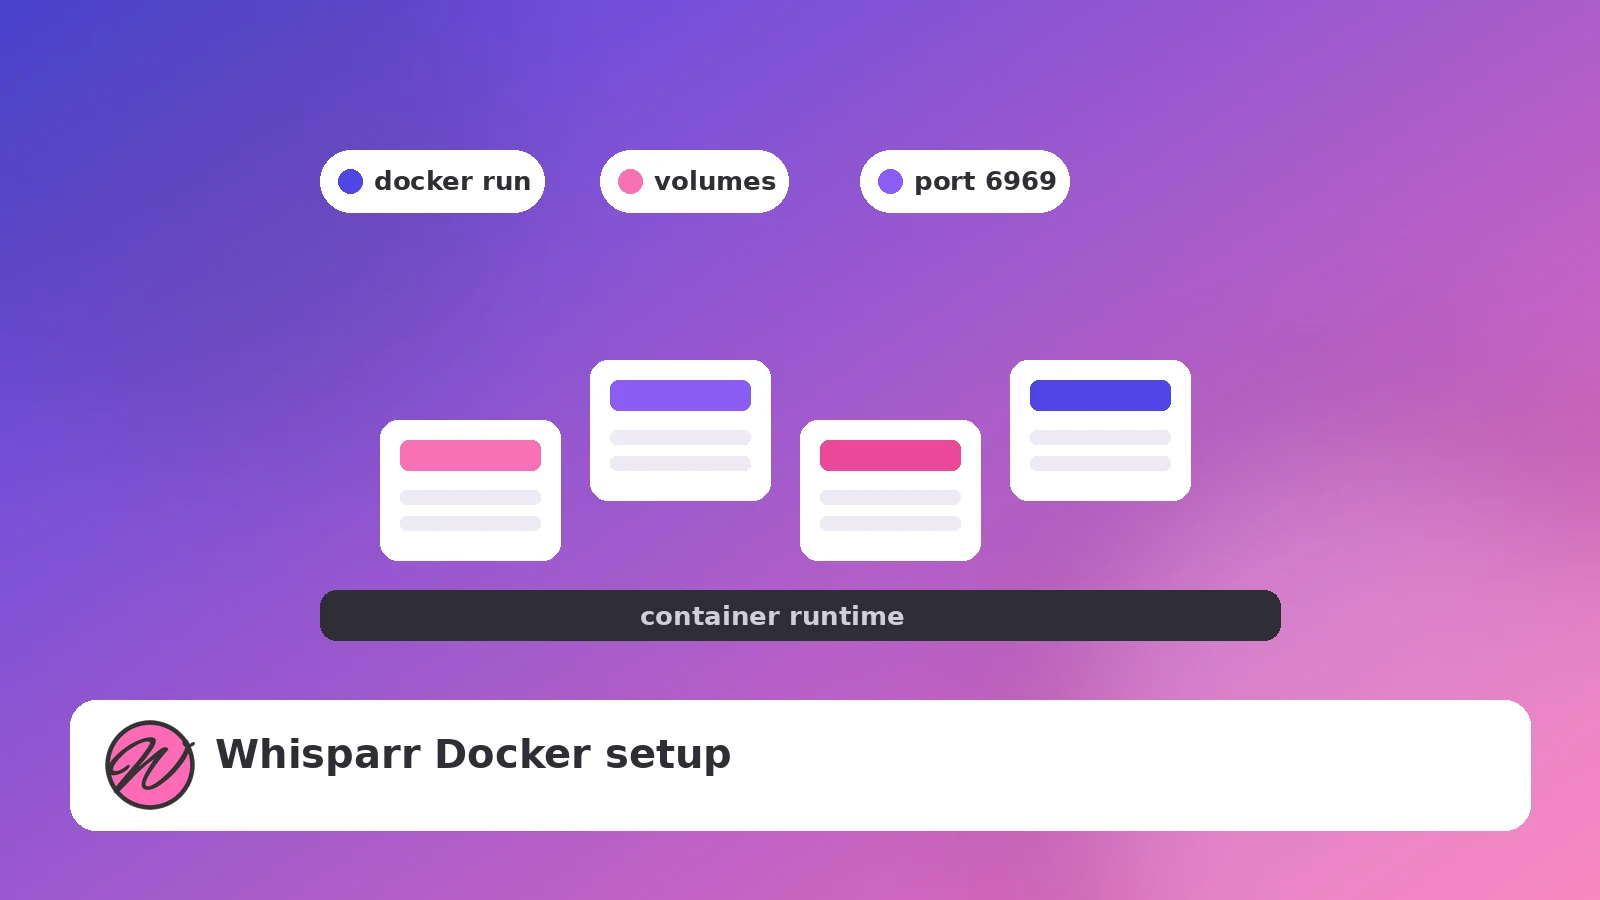
Docker is the most popular way to run Whisparr, and for good reason: the container carries its own dependencies, updates are painless, and the same setup works on a Linux server, a mini PC or a NAS. This guide walks through a clean Whisparr Docker setup from zero, with every flag explained rather than pasted blindly.
When you run Whisparr natively, its runtime, libraries and data all live on the host system, and an OS upgrade can quietly break things. In Docker, everything Whisparr needs ships inside the image. Your personal data — the database, settings and logs — lives in a small /config volume on your disk, so you can destroy and recreate the container at any time without losing anything.
Whisparr images are community-maintained. When choosing one, look at three things: how recently it was updated, whether it supports your CPU architecture (x86-64 or ARM for devices like a Raspberry Pi), and which Whisparr branch its tags track. Tags usually distinguish the v2 line from the newer v3 line — if you are unsure which branch you want, read our Whisparr v3 install guide first.
Before starting the container, create two locations on the host:
/opt/whisparr/config — this holds the database and settings./data/downloads and /data/media. A single shared parent is what makes hardlinks and instant moves possible.docker run -d \
--name=whisparr \
-e PUID=1000 \
-e PGID=1000 \
-e TZ=Asia/Karachi \
-p 6969:6969 \
-v /opt/whisparr/config:/config \
-v /data:/data \
--restart unless-stopped \
<your-chosen-whisparr-image>What each line does:
PUID / PGID tell the container which user and group to run as, so file permissions on your folders behave. Use the IDs of the user that owns /data (run id yourusername to find them).TZ sets the timezone so logs and schedules use your local time.-p 6969:6969 publishes the web interface on the host. Change the left-hand number if 6969 is taken.-v lines map your config and data folders into the container.--restart unless-stopped brings Whisparr back automatically after a reboot.Open http://your-server-ip:6969 in a browser. Set up authentication immediately, then work through Settings in this order: Media Management (enable renaming, add /data/media as a root folder), Indexers (or connect Prowlarr), and Download Clients. Make sure your download client saves completed files somewhere under /data so imports work without remote path mappings.
Updating is the whole point of Docker: pull the newer image, remove the old container and run the same command again. Your /config volume keeps the database intact. If you prefer everything written down in one file you can re-apply, switch to Compose — our Docker Compose configuration guide converts this exact setup into a compose file.
Tip: before your first real grab, add one test item and watch it flow through Activity → import. Catching a path problem on item one is far easier than fixing a hundred failed imports later.
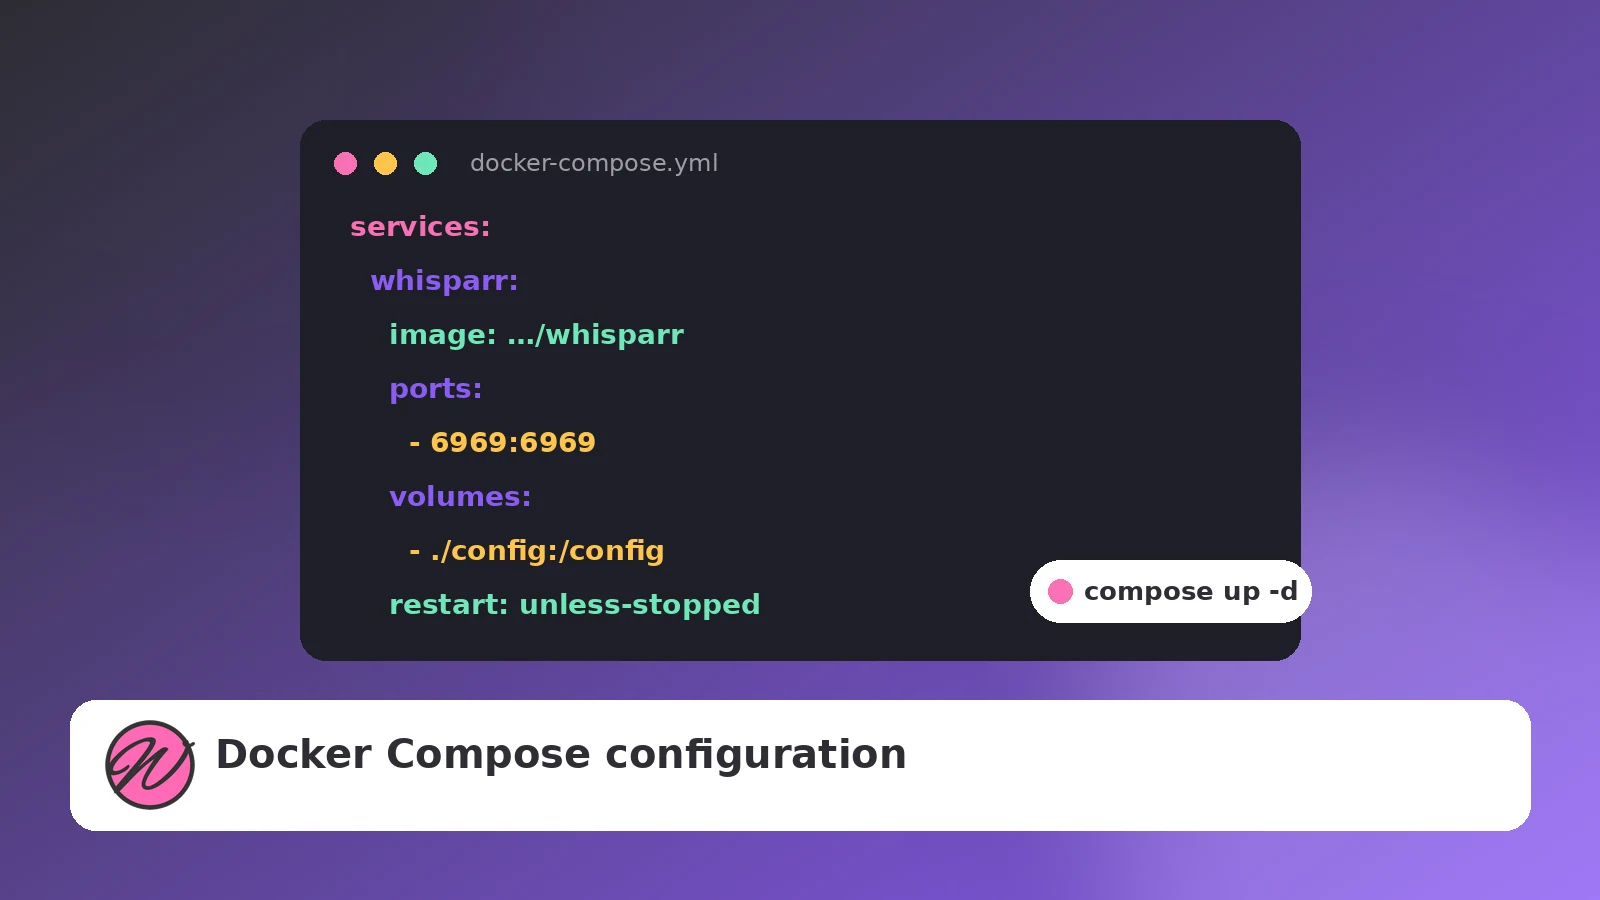
One small YAML file that makes your Whisparr deployment reproducible, documented and easy to update.
Read guide →
Datasets, host paths, permissions and app deployment on TrueNAS SCALE, explained in the right order.
Read guide →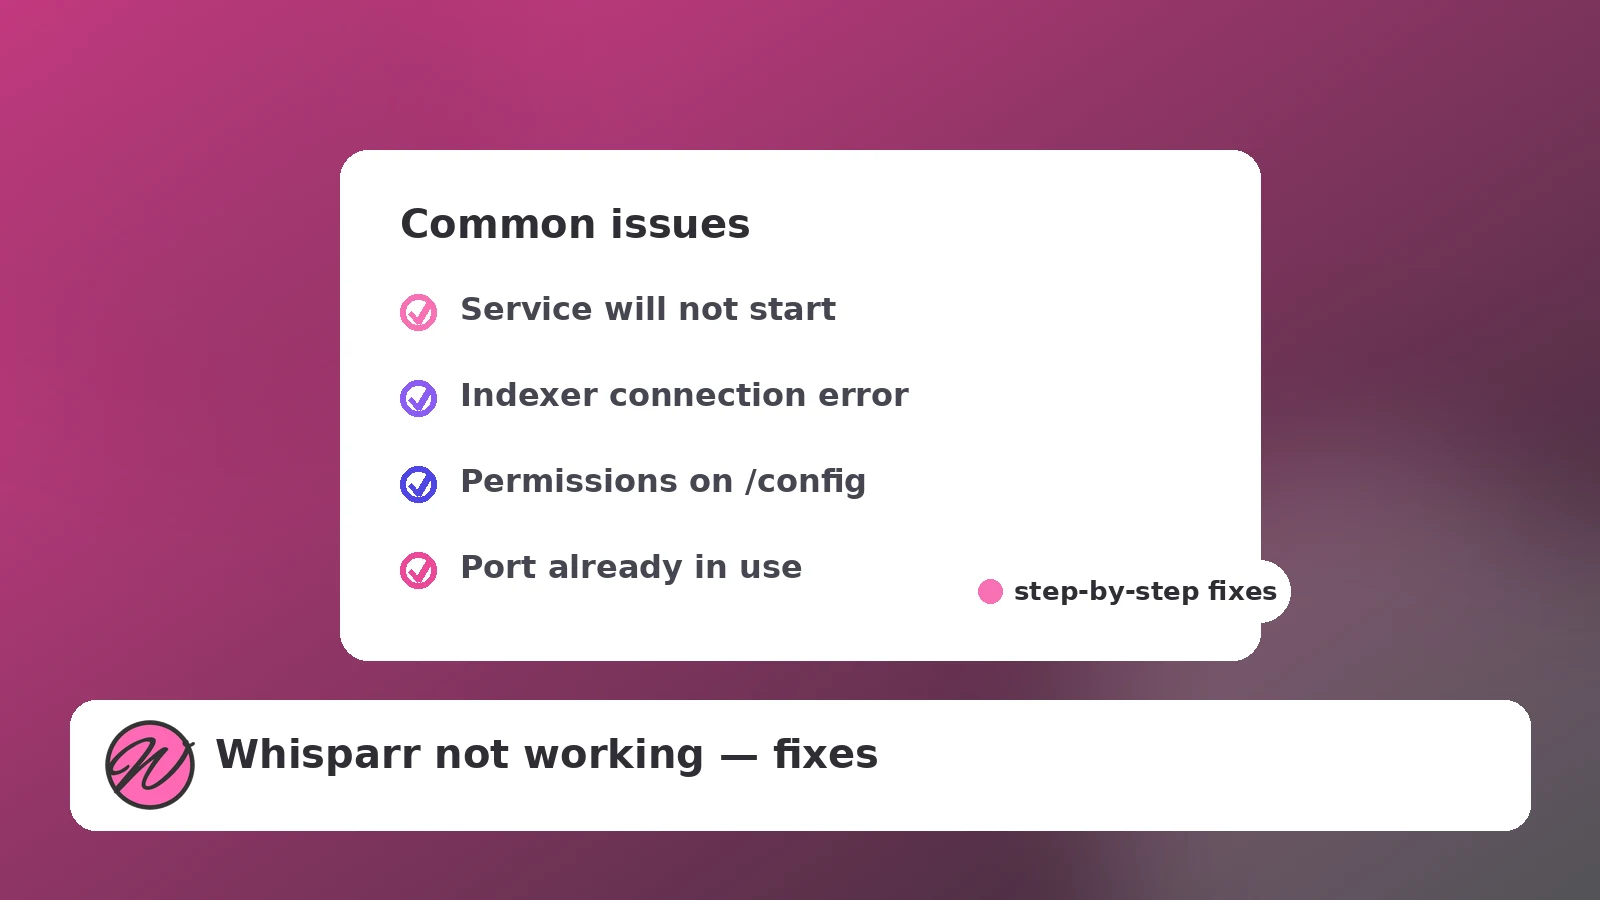
Startup failures, indexer errors, stuck queues and import problems — diagnosed in order.
Read guide →