Installing Whisparr on TrueNAS SCALE: Step-by-Step Setup
Datasets, host paths, permissions and app deployment on TrueNAS SCALE, explained in the right order.
Read guide →Install Whisparr on Synology with Container Manager — a practical, beginner-friendly walkthrough.
Synology's Container Manager (the successor to the old Docker package) makes Whisparr a comfortable fit on DSM. This walkthrough uses a Compose project, which is easier to maintain than clicking through the container wizard and gives you a config you can re-apply after DSM updates.
In Control Panel → Shared Folder, create (or reuse) a structure like:
/volume1/docker/whisparr     ← config
/volume1/data/downloads      ← download client output
/volume1/data/media          ← organized library
As with every platform, downloads and media should share the data parent so imports are instant hardlinks rather than slow copies across shares.
Connect over SSH and run id yourusername. Note the uid and gid values — they map the container to a real DSM user so file permissions work. Give that user read/write permission on both shared folders above.
In Container Manager, open Project → Create, choose the /volume1/docker/whisparr folder as the path, and paste:
services:
  whisparr:
    image: <your-chosen-whisparr-image>
    container_name: whisparr
    environment:
      - PUID=1026
      - PGID=100
      - TZ=Asia/Karachi
    ports:
      - "6969:6969"
    volumes:
      - /volume1/docker/whisparr:/config
      - /volume1/data:/data
    restart: unless-stopped
Replace the PUID/PGID with your values from step 2 (1026/100 is only a common Synology default). Click through to build and start the project.
Browse to http://synology-ip:6969. Enable authentication, set /data/media as the root folder, connect indexers (directly or via Prowlarr running on the same NAS), and point your download client at a folder inside /data/downloads. Send one test item through and confirm it lands renamed in the library.
/volume1/docker/whisparr to Hyper Backup. The config folder is small and restoring it fully restores your setup.
Datasets, host paths, permissions and app deployment on TrueNAS SCALE, explained in the right order.
Read guide →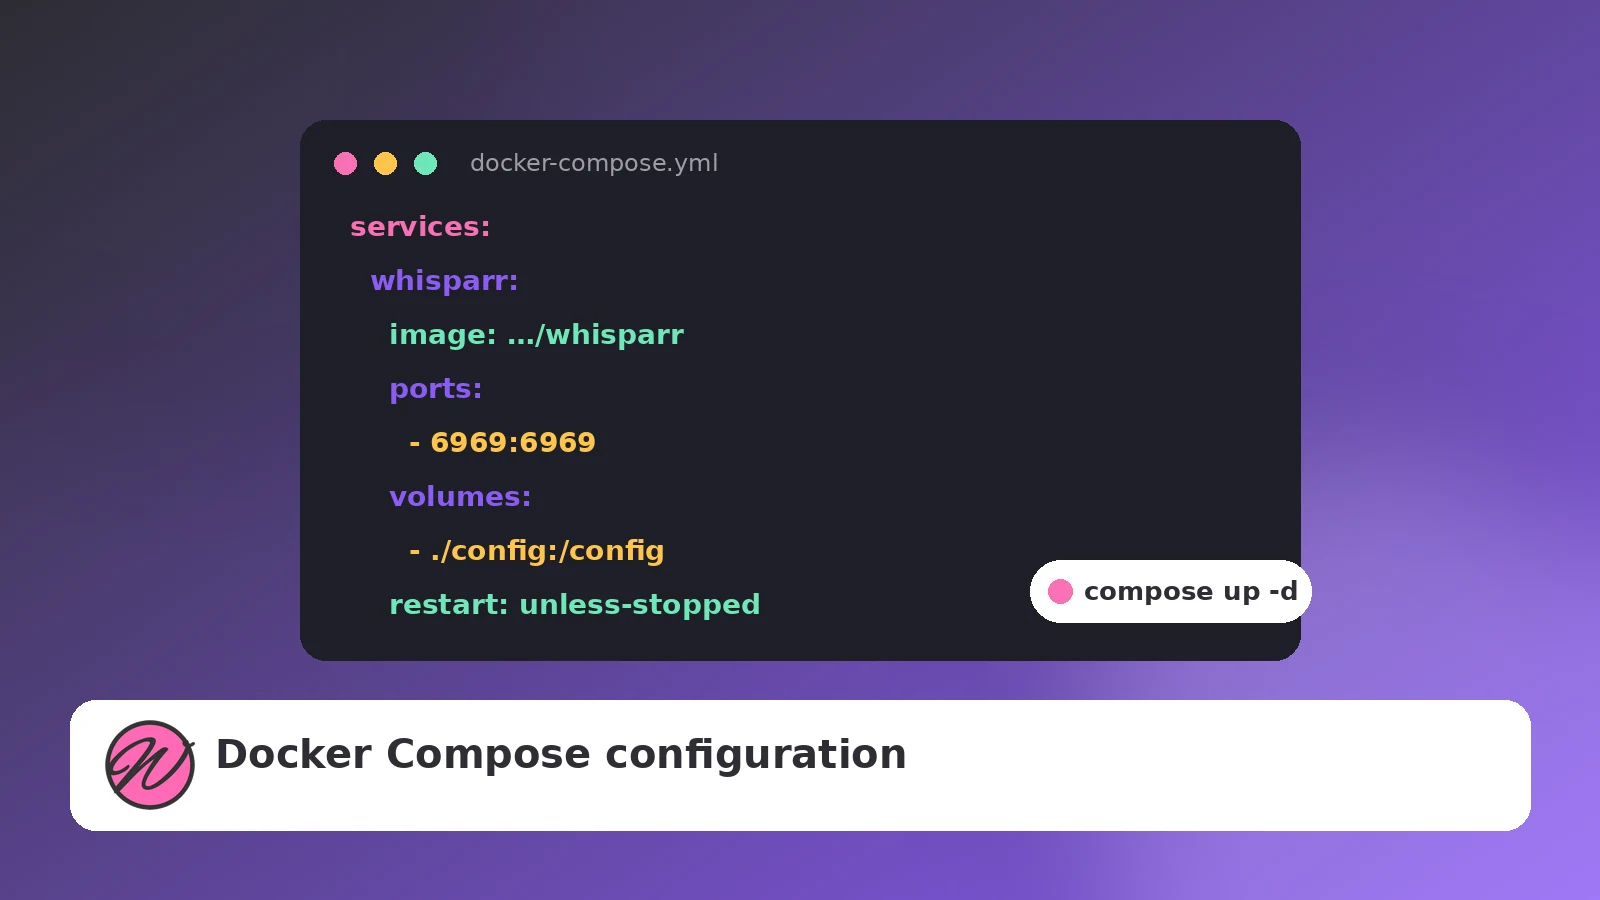
One small YAML file that makes your Whisparr deployment reproducible, documented and easy to update.
Read guide →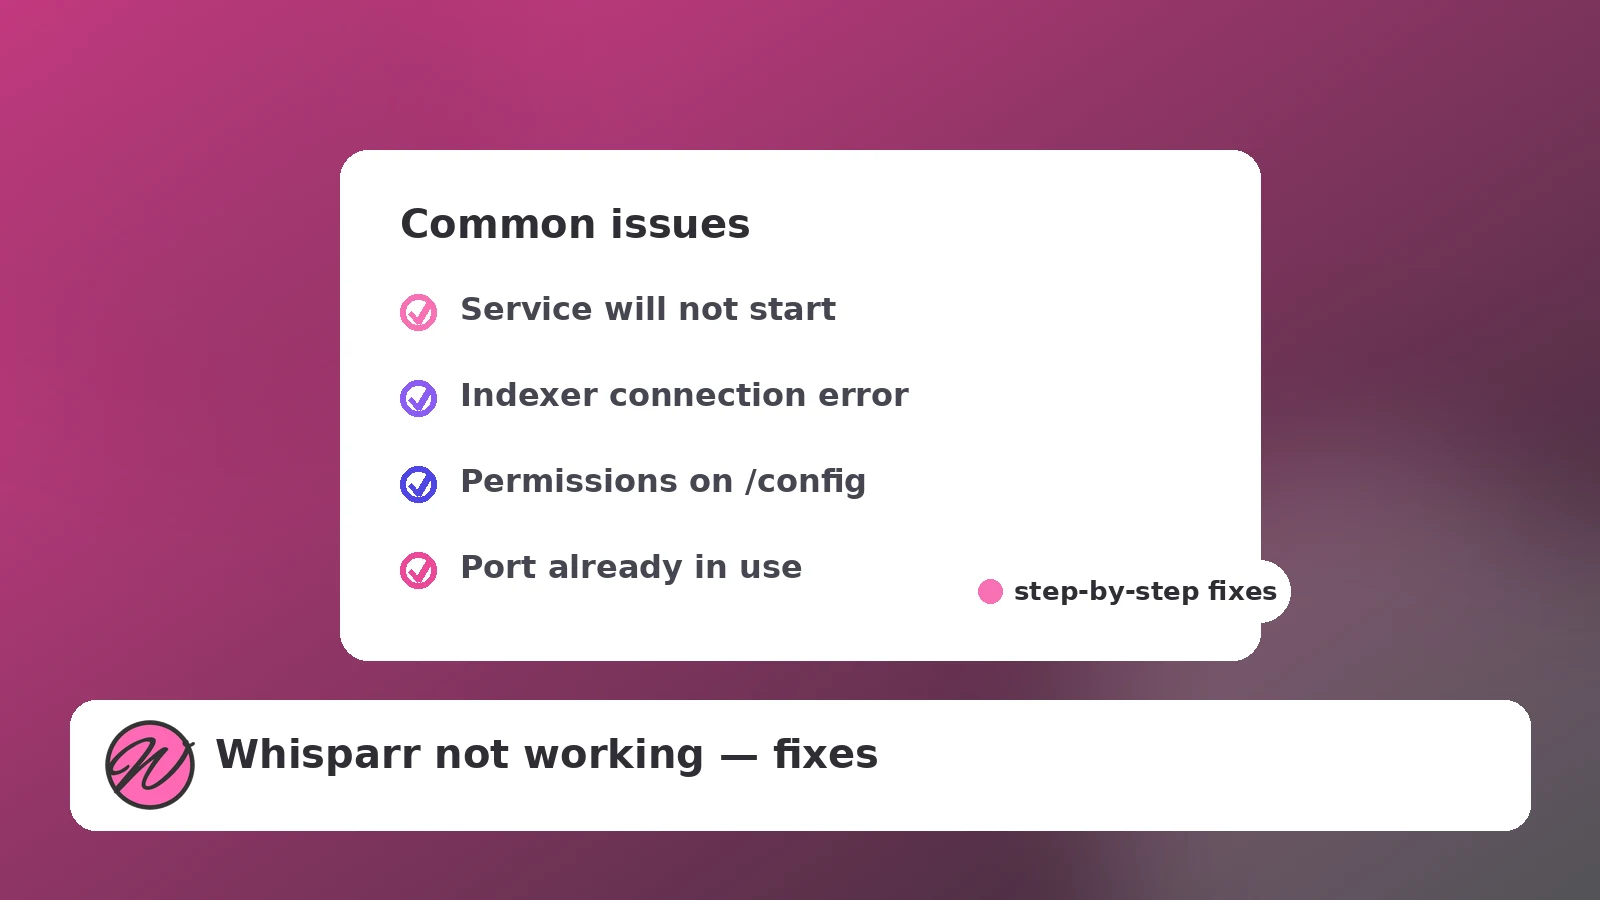
Startup failures, indexer errors, stuck queues and import problems — diagnosed in order.
Read guide →