Whisparr Docker Setup Guide for Beginners (Step by Step)
Deploy Whisparr as a container in minutes: image choice, volumes, ports and first-run configuration.
Read guide →Understand Whisparr v2 vs v3, decide which branch fits you, and follow a clean Whisparr v3 install with Docker tags, fresh setup steps and safety notes. — a practical, beginner-friendly walkthrough.
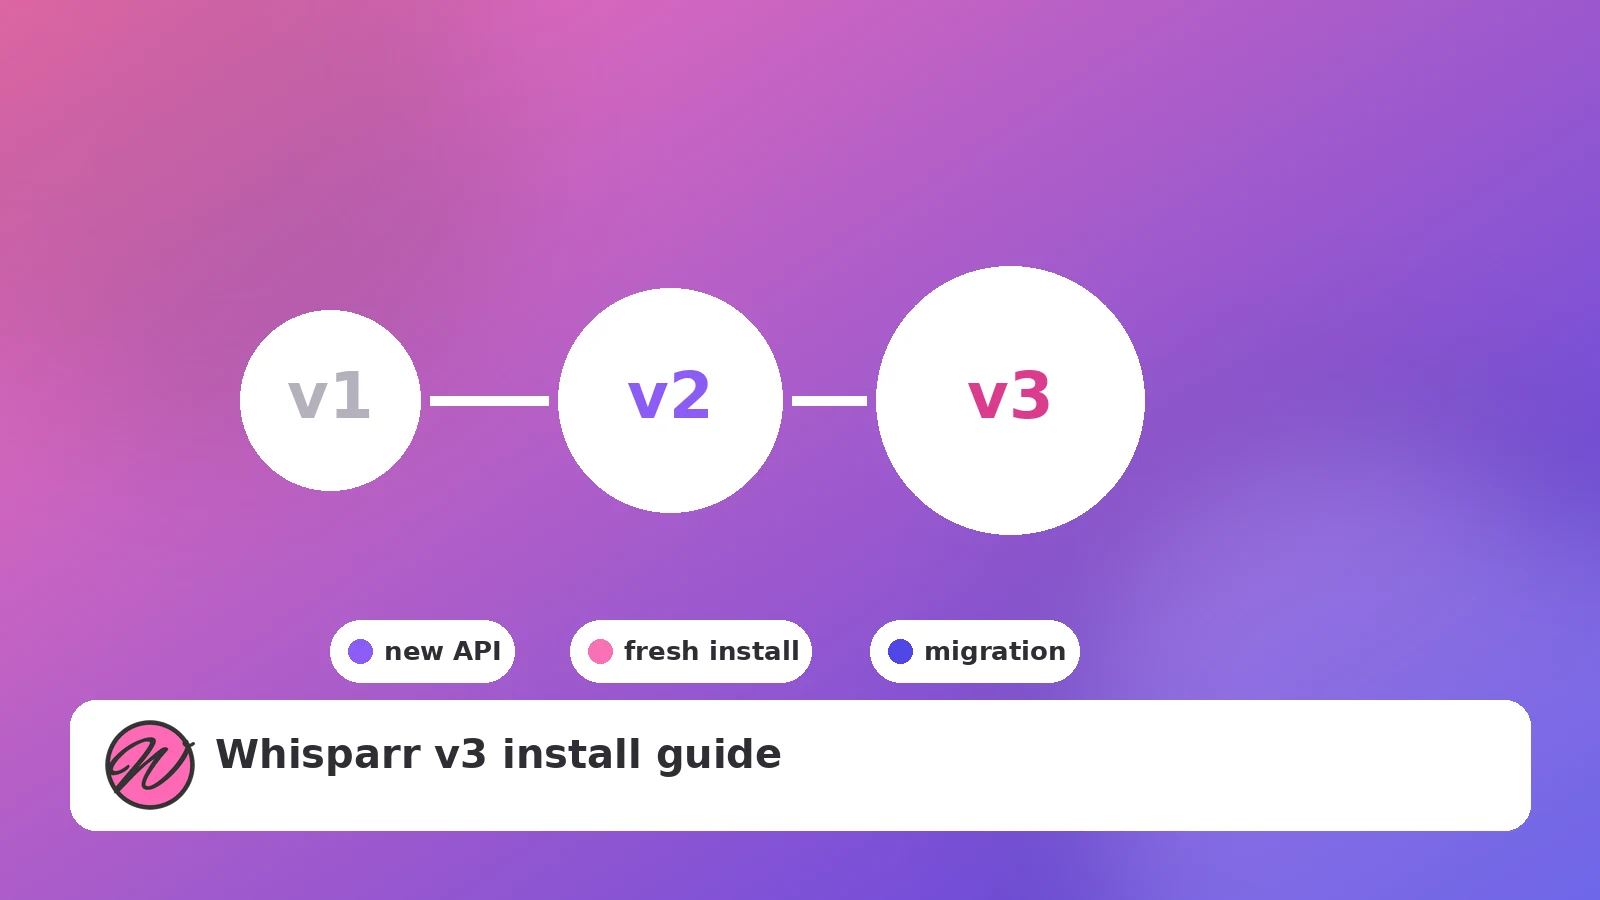
Search for Whisparr and you will quickly run into two version numbers: v2 and v3. They are not simply “old” and “new” builds of the same thing — they are separate development branches with different data models. This guide explains the practical differences and walks through a clean Whisparr v3 install without putting an existing library at risk.
The v2 branch is the established line most existing guides describe, and it is the branch the official archive linked from our download section tracks. The v3 branch is the newer generation, built with a reworked data model and an updated API. In day-to-day terms that changes how items are represented in the library and how third-party tools talk to the app.
Because both branches evolve, we intentionally avoid printing feature tables that might go stale. The honest rule: check the official source for current branch status before you commit, then decide based on how you use the app.
The cleanest v3 install is a fresh container with a v3 image tag and its own config volume:
services:
  whisparr-v3:
    image: <whisparr-image-with-v3-tag>
    container_name: whisparr-v3
    environment:
      - PUID=1000
      - PGID=1000
      - TZ=Asia/Karachi
    ports:
      - "6970:6969"
    volumes:
      - ./config-v3:/config
      - /data:/data
    restart: unless-stopped
Notice two deliberate choices: a separate config folder (./config-v3) so nothing touches an existing v2 database, and a different host port (6970) so both UIs can be open at once. Everything else follows our standard compose configuration.
whisparr3) so their queues never collide.Do not copy a v2 database into a v3 config folder and hope — the data models differ. The safe route is a fresh v3 install that points at the same library root, letting v3 scan and match your existing organized files. Keep the v2 instance stopped (not deleted) until you are satisfied that v3 sees your library correctly.
Back up your config folder before any branch experiment. It is one small folder, and it is the difference between an annoyance and a disaster.
Deploy Whisparr as a container in minutes: image choice, volumes, ports and first-run configuration.
Read guide →
Same family, different jobs — what carries over between the *arr apps and what does not.
Read guide →
A short checklist that keeps repacks, fake installers and bad habits away from your setup.
Read guide →